Introduction
Imagine leveling up your gaming experience by combining retro PSP gaming with immersive dynamic lighting. This fusion is now achievable and surprisingly affordable with PPSSPP Pico Wiring HyperHDR working together seamlessly. Whether you’re a gaming enthusiast or simply looking to turn your entertainment setup into a dazzling spectacle, this guide will show you how.
We’ll break down everything into easy-to-follow steps, ensuring you harness the full potential of the PPSSPP Pico Wiring HyperHDR. By the end, you’ll not only enjoy accurate PSP emulation but also dynamic ambient lighting—a recipe for gaming or movie night perfection.
If you’ve heard the terms “PPSSPP Pico Wiring HyperHDR” but don’t know where to start, this article is just for you.
Introduction to the Marvels of PPSSPP Pico Wiring HyperHDR
Before we get hands-on, it’s essential to understand what makes PPSSPP, HyperHDR, and the Raspberry Pi Pico integral parts of this project.
What is PPSSPP?
PPSSPP (PlayStation Portable Simulator Suitable for Playing Portably) is an open-source PSP emulator that allows you to relive your favorite PlayStation Portable games on various platforms like PCs, smartphones, or even a Raspberry Pi. Known for its lightweight design and performance optimization, it’s perfect for retro gaming enthusiasts looking to revive classic titles.
What is HyperHDR?
An advanced fork of the popular Hyperion software, HyperHDR elevates media consumption with dynamic ambient lighting effects. Pair it with LED strips, and HyperHDR syncs lighting with on-screen activity, turning any gaming or movie session into an immersive masterpiece.
Why Use a Raspberry Pi Pico?
The Raspberry Pi Pico is a versatile, affordable microcontroller board powered by the RP2040 chip. Ideal for DIY electronics, its simplicity and flexibility make it a perfect choice for projects like custom RGB lighting or interactive LED setups.
When combined, PPSSPP, HyperHDR, and the Raspberry Pi Pico create a unique and visually striking experience. From dazzling ambient lighting that reacts to your favorite PSP games to a simple and cost-effective setup, the possibilities are endless.
Why Combine PPSSPP, Pico Wiring, and HyperHDR?
When merged, these three technologies open a new doorway to how you interact with gaming content. Here’s why it’s worth the effort to combine them:
- Enhanced Immersion: HyperHDR’s synchronized LED lighting will elevate how you experience color, motion, and ambiance in your retro gaming.
- Cost-Effective Solution: Leveraging the affordable Raspberry Pi Pico means you gain high-end features without breaking the bank.
- Technical Freedom: Gain creative control by custom-wiring your lighting system to suit your setup.
- Multi-Purpose Use: This versatile setup isn’t limited to gaming. Use it for movie nights or even expressive home decor!
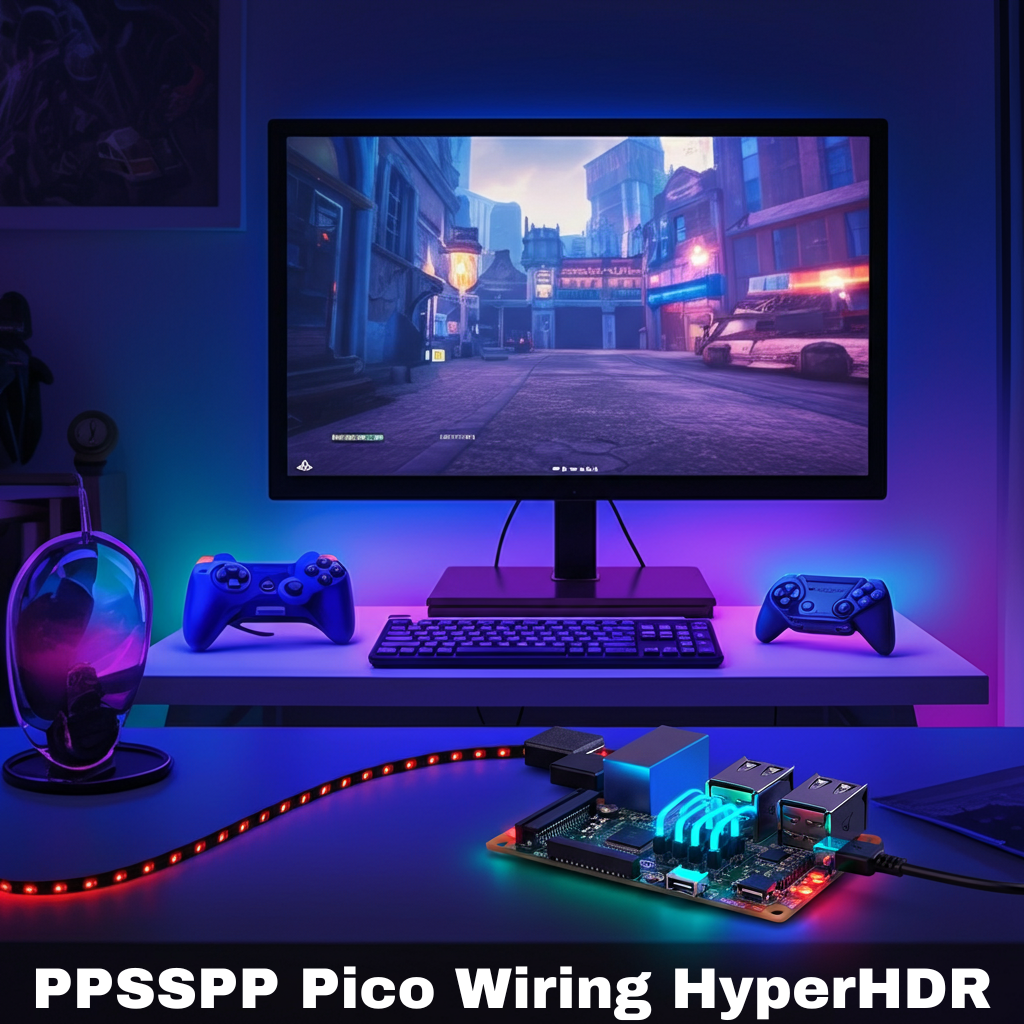
Setting Up PPSSPP Pico Wiring with HyperHDR
Now, we get into the technical steps. Setting up your Raspberry Pi Pico with HyperHDR involves hardware wiring, software installations, and some configurations. Follow along carefully to create this budget-friendly and jaw-dropping setup.
1. What You’ll Need
Before starting, gather the following components:
- A Raspberry Pi Pico board (+ USB cable for connectivity).
- A set of WS2812b (or compatible) LED strips.
- PPSSPP installed on your PC, smartphone, or Raspberry Pi setup.
- HyperHDR software installed and ready to configure.
- Soldering kit (optional, for securing connections).
- A power source capable of supporting your LED strip.
- GPIO wiring kit or jumper wires.
2. Set Up the Raspberry Pi Pico
The Raspberry Pi Pico will act as the control interface between your LED strip and HyperHDR.
- Start by downloading the MicroPython firmware for your Raspberry Pi Pico from the official Raspberry Pi Foundation website. Flash this firmware onto your board using software like Thonny or Etcher.
- Once flashed, connect the Pico to your computer and make sure all GPIO pins are accessible for wiring.
3. Install and Configure HyperHDR
- Download the HyperHDR software for your operating system (available for Windows, Debian, or Raspberry Pi-based systems).
- Install it and launch the configuration wizard.
- Connect your Raspberry Pi Pico and set it up as a `USB capture device` within HyperHDR.
- Map GPIO pins of your Raspberry Pi Pico to the LED strip connections. This step defines how the lights react to real-time data.
4. Wiring LED Strips to the Pico’s GPIO Pins
- For `WS2812b LED strips`, connect the data pin to GP18 on the Raspberry Pi Pico.
- The 5V power input of your LEDs connects to the 5V pin on the Pico board, while the ground (GND) pin completes the circuit.
- Be thorough in your connections—use soldering for durability.
5. Sync HyperHDR with PPSSPP
- Open your PPSSPP emulator settings.
- Set up a display capture stream compatible with HyperHDR (check the user guide for PPSSPP’s network streaming functionality).
- Sync your display output with HyperHDR using the software’s real-time capture feature.
6. Test Your Setup
- Power up the Raspberry Pi Pico and run HyperHDR alongside PPSSPP.
- Ensure the LEDs respond dynamically as you load a game.
- Adjust settings within HyperHDR’s interface to fine-tune brightness, color saturation, or motion response.
Pro Tips for Optimal Results
- Start Small: Begin with a short LED strip to build and test your wiring without overhead. Upgrade later for a full-room theater effect.
- Cable Management: Organize wiring with heat-shrink tubing for a clean and hazard-free setup.
- Keep Firmware Updated: Regularly update HyperHDR and the Pico’s firmware to ensure compatibility with upcoming features.
Create Your Dream Setup Today
Combining PPSSPP Pico Wiring HyperHDR transforms your gaming experience into something spectacular—without the need for an expensive lighting system. Whether you’re attempting your first Raspberry Pi project or stepping up as an experienced DIY enthusiast, this setup is worth exploring.
Don’t settle for plain retro gaming. It’s time to see, hear, and feel the difference.