Push notifications are a vital tool for app developers looking to enhance user engagement and retention. With the Skeet App, a platform designed for facilitate communication, social interaction, and collaboration, implementing push notifications effectively ensures that users stay connected with important updates, events, and interactions.
This article is a comprehensive guide to Skeet App how to Set Push Notifications for All Users, covering everything from enabling global notifications to crafting effective messages. Whether you’re an app developer or an advanced user looking to improve your app experience, this guide has you covered.
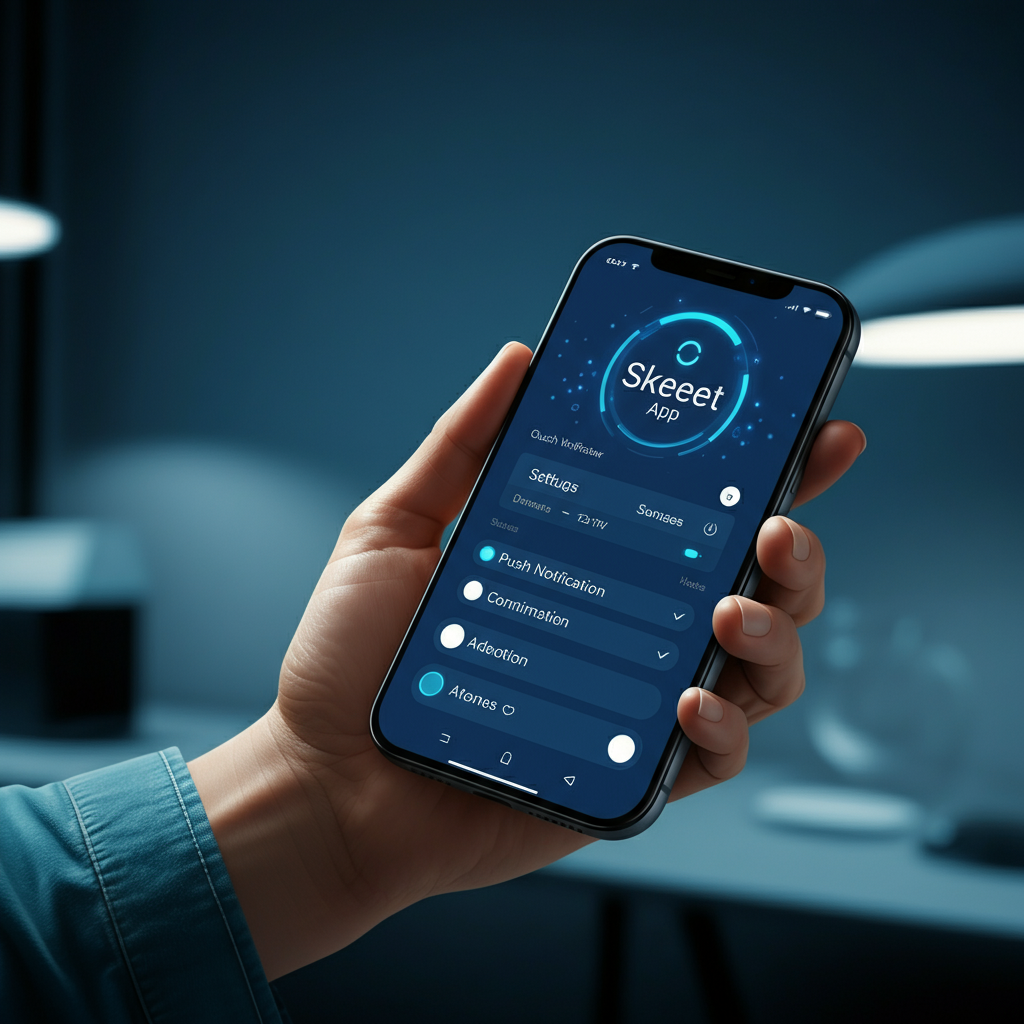
What Is Skeet App?
Skeet App is a dynamic platform designed to facilitate communication, social interaction, and collaboration. Its interactive features make it a natural hub for user engagement. Push notifications are an essential component of the Skeet App, ensuring users never miss an update, event, or interaction within the platform.
By understanding how to set up and manage notifications on Skeet App, you position your app or usage to drive better engagement, improve user retention, and enhance the overall user experience.
Why Push Notifications Matter
Push notifications can be a game-changer for app engagement. Here’s why they are worth your time and effort:
- Boost Engagement: Remind users of new features, events, or updates, keeping them active on your app.
- Real-Time Alerts: Deliver important information instantly, like event reminders or exclusive offers.
- Increase Retention: A steady, useful flow of notifications keeps users connected to your app and reduces churn.
However, success with push notifications requires a strategic approach. Effective notifications are timely, relevant, and non-intrusive. Poorly executed notifications can annoy users and prompt uninstalls.
Now, let’s jump into the step-by-step process of setting up push notifications on the Skeet App.
Steps to Set Push Notifications for All Users on Skeet App
1. Access the Push Notification Settings
The first step is navigating to the right section in the Skeet App admin panel or developer dashboard. Here’s how:
- Log in to your Skeet App account.
- Open the admin panel or developer dashboard.
- Look for “Notifications” or “Push Settings” in the menu.
This is your hub for controlling all aspects of your push notifications.
2. Enable Global Notifications
Activating global notifications ensures that all app users receive important updates by default. To do this:
- Locate the “Global Notifications” toggle or checkbox in the settings.
- Switch it on to enable universal notifications.
This simple setup saves time and ensures seamless communication with all your users.
3. Customize Notification Types
Not all notifications are created equal. Tailor them to ensure relevance and value for your users. Here are some common notification categories:
- General Updates: Inform users about app announcements, feature launches, or maintenance schedules.
- Event Alerts: Notify users about scheduled events, promotional offers, or time-sensitive opportunities.
- User Engagement: Encourage activity through reminders, friend requests, or interaction prompts.
Customize which types of notifications are most relevant for your audience.
4. Configure Message Content
Crafting compelling messages is essential for effective push notifications.
- Be Concise: Keep messages short and to the point. Users should understand your message at a glance.
- Add a Call-to-Action (CTA): Include actionable phrases like “Join Now,” “Learn More,” or “Shop the Sale.”
- Personalize Notifications: Use user-specific data like names or preferences for a tailored experience. For example, “Hi [Name], don’t miss this exclusive offer just for you!”
This attention to detail can significantly boost engagement rates.
5. Schedule Notifications
Timing is everything when it comes to push notifications. Use Skeet App’s scheduling tools to:
- Set specific times for different types of notifications—e.g., send promotional messages in the afternoon when users are more likely active.
- Avoid spamming users by limiting the frequency of messages.
Pro tip: Schedule notifications based on users’ local time zones to maximize relevance.
6. Test Notifications Before Deployment
Before sending notifications to all users, always test them:
- Send test notifications to a small group of users or fellow developers.
- Verify delivery across various devices and operating systems to ensure consistency and proper formatting.
Testing helps you catch any errors and perfect the notification experience.
7. Analyze Notification Performance
Use the analytics tools built into the Skeet App platform to monitor the effectiveness of your notifications. Track metrics like:
- Open Rates: Percentage of users who open the notification.
- Engagement Rates: Actions taken after engaging with a notification.
- Delivery Success: Ensuring the message is reaching all intended users.
Refine your notification strategy based on what the data tells you.
Best Practices for Skeet App Notifications
Here are a few tips to ensure the effectiveness of your Skeet App notifications:
- Respect User Preferences: Allow users to opt-out or customize the type and frequency of notifications they receive.
- Leverage Time Zones: Schedule notifications based on individual users’ local times for better engagement.
- Avoid Over-Notification: Too many notifications can overwhelm users and lead to uninstalls. Focus on quality over quantity.
- Prioritize Relevance: Only send notifications that bring real value to your users.
Follow these practices to strike the perfect balance between staying connected and avoiding disruption.
Frequently Asked Questions (FAQs)
1. How do I enable global push notifications in Skeet App?
To enable global notifications, open the “Notifications” or “Push Settings” section in the admin panel or developer dashboard. Toggle on the “Global Notifications” option to activate it for all users.
2. Can I customize the type of push notifications users receive?
Yes, the Skeet App allows you to customize notification categories, such as general updates, event alerts, or user engagement. This ensures you provide only relevant content to your audience.
3. How can I ensure my push notifications reach all users?
Regularly test notifications across various devices and operating systems before deploying them. Use Skeet App’s analytics tools to monitor delivery success rates and make improvements as needed.
4. What are some tips for crafting effective push notification messages?
Keep messages concise, include a clear call-to-action, and personalize content when possible. For example, incorporating the user’s name or preferences may lead to higher engagement.
5. How often should I send push notifications without overwhelming users?
To avoid overwhelming users, limit push notifications to only the most important updates and schedule them thoughtfully. Avoid sending more than 1-2 notifications per day unless it’s a unique scenario, like a special event.
Build Stronger Connections with Push Notifications on Skeet App
Push notifications are more than just alerts—they’re a bridge between your app and its users. By implementing them effectively, you can improve engagement, provide timely updates, and foster deeper connections with users.
Now that you understand how to set push notifications for all users on the Skeet App, it’s time to put these tips into action. Implement the steps and best practices outlined above to craft a notification strategy that resonates with your audience, drives engagement, and keeps your app ahead of the competition.